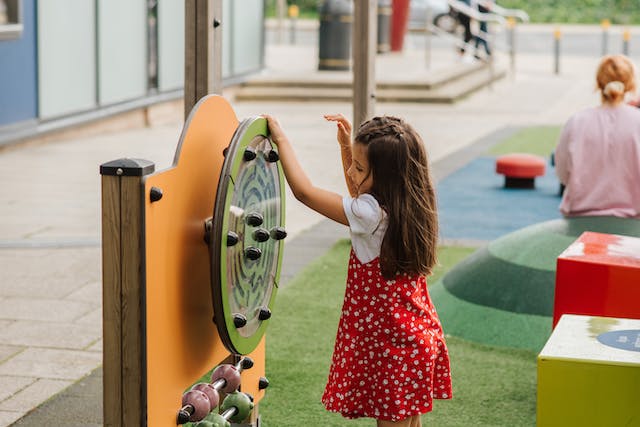
Let’s face it: commercially available playsets can come with a hefty price tag. According to recent statistics, the average cost of a pre-assembled playset ranges from $80 to $5,000 or more, putting a strain on budgets that could be better utilized for other impactful projects. That’s where DIY woodworking comes in.
In this article, we’ll explore how you can add a personal touch to your community or school spaces and save a considerable amount by taking the reins of construction. And one powerful tool you’ll need in this journey is a drill press.
The Essential Tools and Materials
You’ll need more than just a drill press to complete an entire playset. Before diving into your DIY project, gather the necessary tools and materials. Having the right equipment not only ensures a smoother construction process but also contributes to the longevity and stability of your playset.
The following are a few essentials to get you started:
- Drill press: A reliable drill press is crucial for accurate hole placements and various woodworking tasks. Ensure it’s equipped with the necessary accessories, such as a vice for securing materials.
- Safety gear: Equip yourself with safety glasses, hearing protection, and dust masks. These essentials protect against potential hazards and ensure a secure working environment.
- Measuring tools: Invest in a quality tape measure, a combination square, and a level to guarantee accurate measurements and level installations.
- Power tools: Depending on your design, a cordless drill for additional tasks and a jigsaw for intricate cuts may be required. These tools enhance efficiency and versatility in your woodworking endeavours.
- Hand tools: A set of chisels, a hammer, and screwdrivers will prove invaluable during assembly and fine-tuning. Choose sturdy, high-quality tools for better results.
- Clamps: Keep your pieces securely in place with a variety of clamps. They help prevent movement during drilling, ensuring precision and safety.
- Wood and hardware: Select high-quality lumber suitable for outdoor use. Additionally, gather the necessary screws, bolts, nuts, and washers based on your design and the structural needs of your playset.
- Sandpaper and finishing materials: Achieve a smooth and professional finish by investing in various grits of sandpaper. Consider wood sealant or paint to protect the playset from the elements and enhance its aesthetic appeal.
Using the Drill Press for Playset Construction
With a drill press as a central tool in your DIY woodworking arsenal, you can construct a variety of playsets that cater to different age groups and preferences. Here are a few examples of DIY playsets that you can create using a drill press:
Classic Swing Set
Build a timeless swing set with sturdy A-frame supports. Use the drill press to create precise holes for the swing attachments and ensure a secure and reliable structure.
Gorilla Playset
Embark on an ambitious project by constructing a gorilla playset. The drill press is essential for creating precise holes for structural supports, platforms, and additional features like climbing nets or rope bridges. While a commercial ready-to-use gorilla playset offers more intricate play elements, it’s possible to build a simplified version with the right tools and design!
Climbing Wall
Create an adventurous climbing wall with various handholds and footholds. The drill press will aid in crafting holes for mounting the climbing holds securely.
Mud Kitchen Playset
Foster imaginative play with a mud kitchen playset. Utilize the drill press to create holes in tabletops, allowing for easy installation of faucets or utensil holders.
Sandbox with Built-In Seats
Build a sandbox with comfortable built-in seats around the perimeter. The drill press can be used to create holes for fastening the seats and providing a convenient space for little ones to play.
Picnic Table with Attached Benches
Little ones need to refuel and rest! Combine play and practicality by building a picnic table with attached benches. The drill press can assist in creating precise holes for screws and bolts, ensuring a stable and safe seating area.
Considerations and Safety Reminders
In any DIY project, it’s crucial to keep a few key considerations and safety precautions in mind. First, assess the available space where the playset will be installed. Ensure it meets safety guidelines, providing enough clearance around play elements and minimizing potential hazards.
The following are additional tips to consider:
- When selecting materials, opt for high-quality, pressure-treated lumber that is resistant to decay and insects.
- Regularly inspect the wood for any signs of wear or damage and promptly address any issues to maintain the structural integrity of the playset.
- Consider the age group for which the playset is intended and tailor the design accordingly, incorporating age-appropriate features and safety measures.
Throughout the construction process, adhere to proper safety precautions. Wear protective gear, including safety glasses, hearing protection, and dust masks. Follow manufacturer guidelines and exercise caution when using the drill press or other power tools.
By incorporating these considerations and safety measures, you’ll ensure that your DIY playset brings joy to the community or school and prioritizes the children’s safety and well-being.
Start Building Smiles Today
Whether you’re just starting on your woodworking journey or already have gained mastery over the years, don’t forget to equip yourself with the right tools and requirements.
Most importantly, ensure proper safety precautions and playground standards for your safety and the little ones using your creations.
